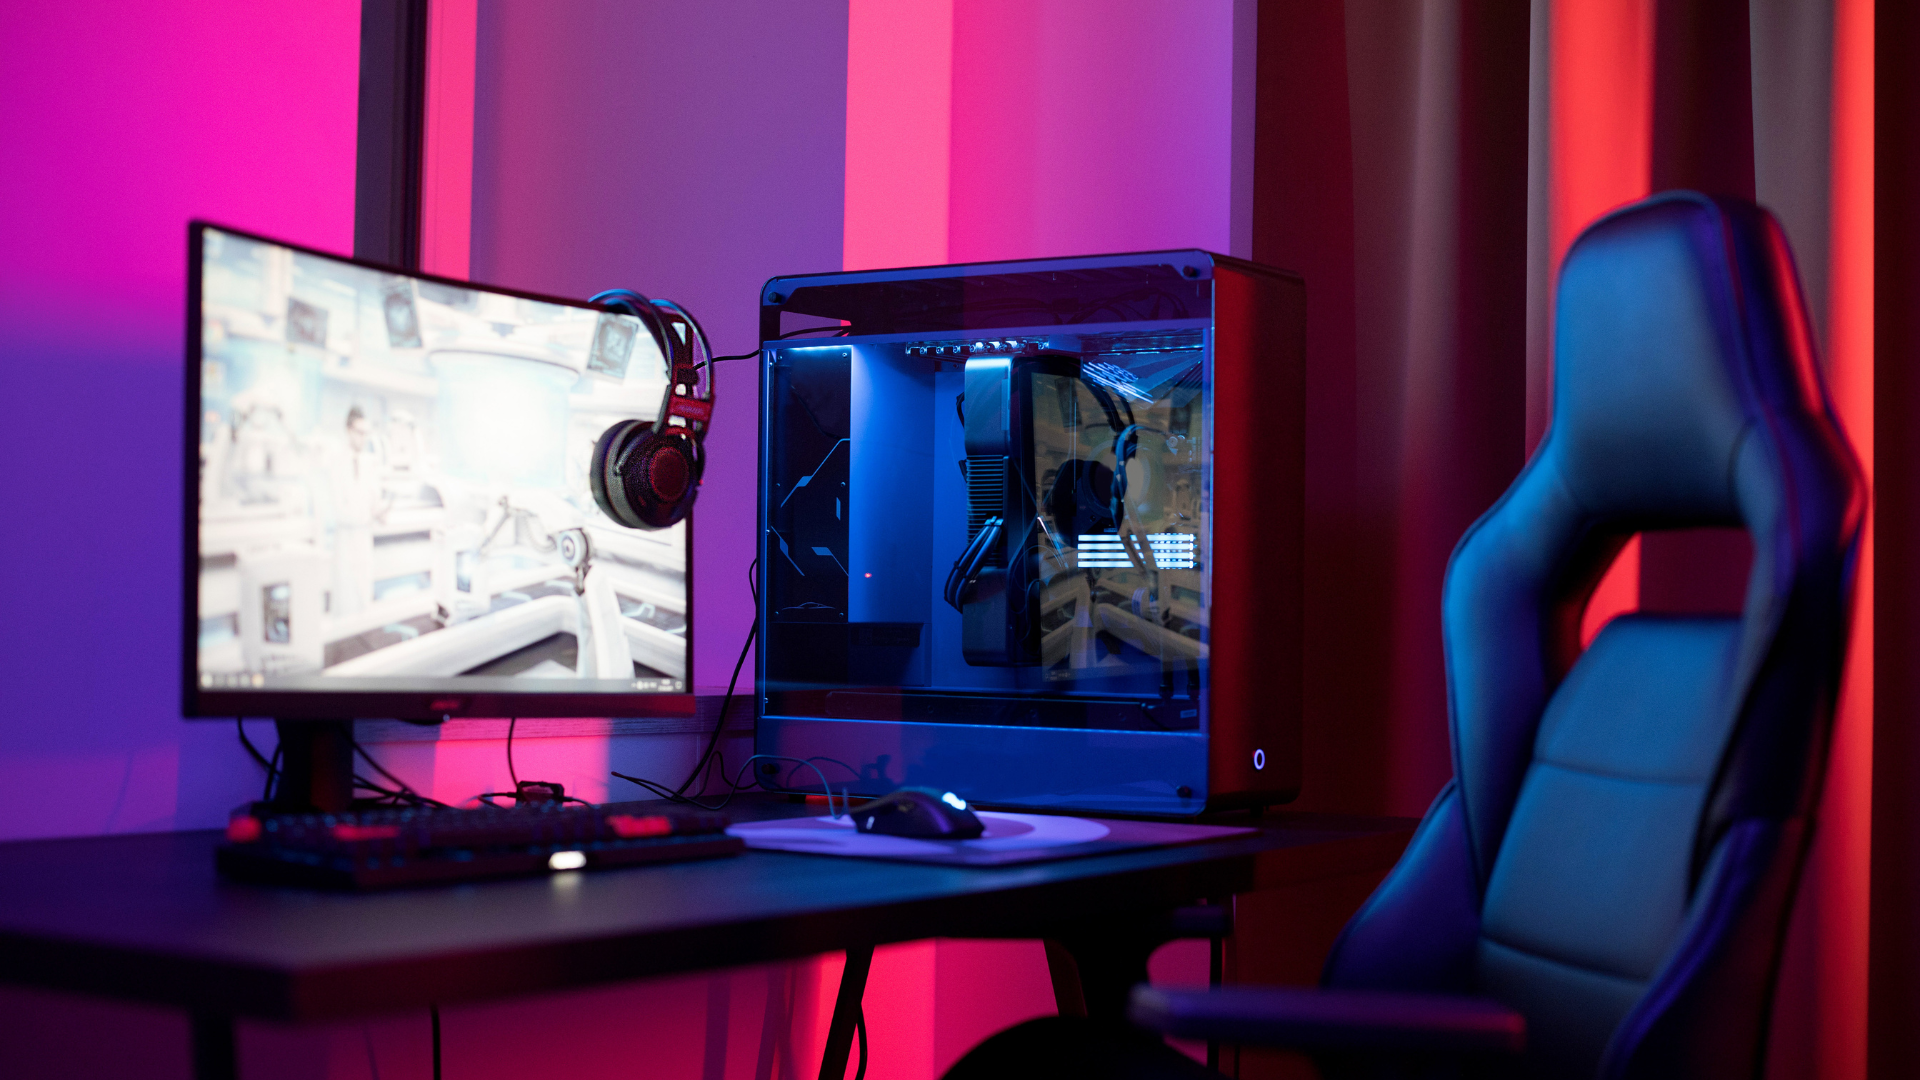
Building a gaming PC can be an exciting and rewarding project for anyone looking to enhance their gaming experience. This step-by-step guide will take you through the essential components and processes involved in constructing a powerful and customized gaming rig. With a little patience and the right information, anyone can assemble a machine that meets their specific gaming needs.
The process involves selecting individual components such as the CPU, GPU, motherboard, and RAM, followed by assembling them in a case. Each part plays a crucial role in the overall performance and functionality of the gaming PC. Understanding how to build your own gaming PC empowers individuals to create a setup tailored to their preferences and budget.
As technology continues to evolve, so too does the DIY approach to building a gaming PC. With numerous resources available, including videos and forums, aspiring builders can gain confidence and knowledge to successfully navigate their first build. Following this guide will simplify the journey and lead to a satisfying and enjoyable result.
Planning Your Gaming PC Build
Planning a gaming PC build involves several critical decisions. Setting a budget, choosing compatible components, and selecting the right form factor are essential steps that can significantly influence the overall performance and longevity of the system.
Setting a Budget
The first step in any PC build is establishing a budget. This figure will guide all purchasing decisions and help prioritize component quality. A reasonable starting point for a gaming PC build is about $800 to $1,200.
- Key Components to Budget For:
- CPU
- GPU
- Motherboard
- RAM
- Storage
- Power Supply
- Case
Balancing performance with cost is essential. Higher-end components improve gaming performance but come at a higher price. It’s beneficial to allocate approximately 40% of the budget to the graphics card (GPU), as it significantly impacts the gaming experience.
Choosing Compatible Components
Compatibility among components is crucial to avoid build issues. Each part must work seamlessly with the others to ensure optimal performance.
- Important Compatibility Factors:
- The CPU socket type must match the motherboard.
- RAM type (DDR4 or DDR5) should be compatible with the motherboard.
- GPU size must fit the chosen case.
Most motherboards come in various chipsets, affecting upgrade paths and features like overclocking. Online compatibility checkers can help verify that selected parts will work together without conflicts.
Selecting the Right Form Factor
The PC case’s form factor influences size, airflow, and overall aesthetics. Common choices include ATX, Micro-ATX, and Mini-ITX.
- Considerations When Choosing a Form Factor:
- Space Availability: Larger cases offer more room for cooling solutions and future upgrades.
- Cooling Solutions: Larger cases usually support better airflow, essential for maintaining performance.
- Aesthetics: Consider color, design, and LED lighting options.
Selecting the suitable form factor impacts not just appearance but also the accessibility for future upgrades or repairs. Ensure that it complements the components selected to create an efficient gaming machine.
Essential Components and Tools
Selecting the right components is crucial for building a gaming PC. Key components include the CPU, graphics card, memory, and storage. The following subsections break down these essentials along with the necessary tools for assembly.
Processor (CPU): Intel vs. AMD
The CPU is the brain of the gaming PC, impacting performance and multitasking capabilities. Intel and AMD are the two primary manufacturers.
- Intel: Known for strong single-thread performance, ideal for gaming.
- AMD: Often provides better multi-thread performance at competitive pricing.
Choosing between the two depends on budget and intended use. Consider models like Intel’s Core i5 or AMD’s Ryzen 5 for mid-range builds. Compatibility with the motherboard is essential. Always check the socket type (LGA for Intel and AM4 for AMD).
Graphics Card and GPU Choices
The graphics card significantly influences gaming visuals and performance. Popular options from NVIDIA and AMD cater to different budgets and power needs.
- NVIDIA: Known for the RTX series, offering real-time ray tracing and DLSS for enhanced graphics.
- AMD: Radeon RX series provides competitive pricing and solid performance.
When selecting a GPU, consider VRAM; 6GB to 8GB is a solid choice for most games. Ensure the PSU (Power Supply Unit) can handle the card’s power requirements.
Memory (RAM) and Storage Options
Memory and storage play vital roles in the overall speed and performance of the gaming PC. Aim for at least 16 GB of RAM for modern gaming.
- RAM: 3200 MHz speed is common, while dual-channel setups enhance performance.
- Storage: Use a combination of SSD and HDD. SSDs (SATA or PCIe) significantly reduce load times, making them crucial for gaming.
Consider reputable SSD brands for reliability, and use USB flash drives for backups. Balance options based on budget, ensuring enough space for games and other applications.
Assembly: Building Your Gaming PC Step-by-Step
In this stage, the crucial components of the gaming PC will be assembled. Careful attention to detail is essential to ensure a successful build. Each step is designed to guide you through the process efficiently.
Installing the Motherboard and Processor
Begin by placing the motherboard onto the anti-static surface. Ensure that the I/O shield is correctly positioned at the back of the case. Align the standoffs on the motherboard with the corresponding holes.
Next, install the CPU. Align the CPU with the socket’s triangle marker and gently lower it into place. The CPU should fit snugly without forcing it. Lock the bracket down to secure it.
Using a screwdriver, attach the motherboard to the case with screws, ensuring it is firmly in place. Check that it is level and properly aligned before tightening each screw to prevent any bending or misalignment.
Mounting the CPU Cooler and Applying Thermal Paste
To ensure optimal cooling, the CPU cooler must be attached correctly. Apply a small amount of thermal paste to the center of the CPU, about the size of a pea. This allows for efficient heat transfer between the CPU and the cooler.
Carefully position the CPU cooler over the CPU. Different coolers may have varying attachment methods, so consult the manual for specific instructions. Once in place, secure it firmly without excessive force to avoid damaging the CPU.
Connect the cooler’s power cable to the motherboard. Make sure the connection is secure to enable proper cooling functionality during operation.
Fitting Storage Drives and Expansion Cards
Install storage options by first locating the appropriate drive bays within the case. Secure the SSD or HDD in place using the provided screws or tool-less mechanisms. Ensure they are firmly attached for stability.
For graphics cards or other expansion cards, insert them into the appropriate PCIe slots on the motherboard. Align the card with the slot and push down firmly until it clicks into place. Secure the card with screws to prevent any movement.
Attach any additional peripherals according to the manufacturer’s specifications. Ensure connections are tight to maintain optimal performance and prevent potential issues.
Power Supply Unit Installation and Cable Management
Locate the power supply unit (PSU) and insert it into the designated area of the case. Depending on the PSU design, ensure that the fan faces the right direction for optimal airflow.
Connect the necessary cables to the motherboard, CPU, storage devices, and graphics card. A modular PSU allows for cleaner cable management; connect only the cables needed for the components installed.
Organizing cables neatly can improve airflow and aesthetics. Use zip ties or Velcro straps to bundle cables together and route them out of sight. This step enhances airflow and system cooling, which is important during gaming sessions.
Finalizing and Optimizing Your Gaming PC
With the hardware assembled, it’s time to connect peripherals, install the operating system, and conduct testing. These steps ensure that everything functions correctly and optimally.
Connecting Peripherals and Input Devices
Begin by connecting essential peripherals such as the monitor, keyboard, and mouse. Check that the monitor’s cable type matches the GPU output, whether it’s HDMI, DisplayPort, or DVI.
Make sure USB devices are connected to the appropriate ports. For devices like gaming headsets and external drives, USB 3.0 ports provide faster data transfer. Keeping an organized cable management system enhances airflow and adds to the aesthetics of the setup.
Other peripherals might include game controllers and speakers. Verify that all devices are powered on and correctly functioning before proceeding.
Operating System Installation and Setup
To install the operating system, a USB flash drive loaded with the OS installer is typically required. Windows users can download the Media Creation Tool from the Microsoft website for this purpose.
Insert the USB flash drive into the PC and boot the machine. This may require accessing the BIOS or UEFI settings to adjust the boot order. Follow the prompts to install the OS on the primary drive.
After installation, update all drivers, particularly for the GPU and motherboard. This ensures optimal performance and compatibility with games and applications.
Post-Build Testing and Troubleshooting
After completing the OS installation, testing is essential. Start by running performance benchmarks to ensure the hardware meets expectations. Software like 3DMark can help assess the system’s graphical capabilities.
Monitor temperatures using software such as HWMonitor, especially during gaming sessions, to avoid overheating. If any issues arise, consult error codes or system logs for troubleshooting.
In case of persistent problems, checking connections or re-seating components may help. Ensuring that peripherals are functional and recognizing any device conflicts is also important for a smooth gaming experience.